A roof restoration is one of the most valuable investments you can make in your home, yet many homeowners hesitate simply because they don’t know what the process entails. It’s not a mystery, and it’s certainly not a rushed weekend job. A proper restoration follows a structured sequence designed to deliver decades of protection. Here’s exactly what happens, step by step.
Step 1: Full inspection and preparation. Before anything is cleaned or touched, the entire roof is inspected. Loose ridge caps, cracked tiles, rusted sheets, failed flashings, and blocked valleys are all noted. This diagnostic phase sets the scope—no surprises, just a clear plan.
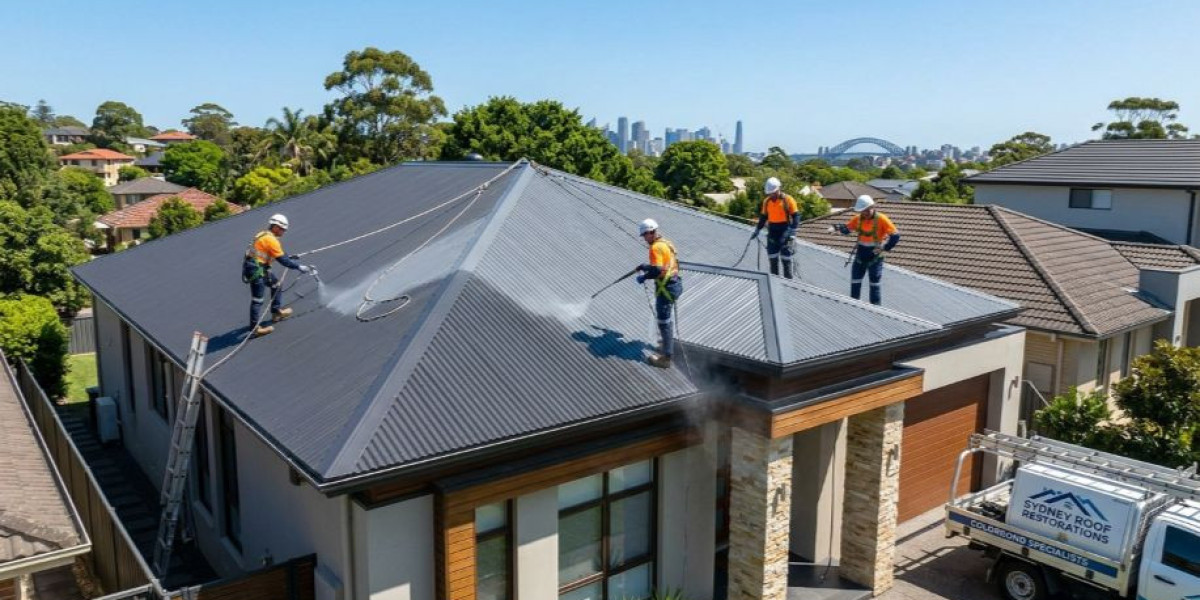
Step 2: High-pressure or soft-wash clean. Years of grime, moss, and lichen are stripped away using a method suited to your roof material. Terracotta and concrete tiles typically get a high-pressure clean, while fragile or older roofs, and metal roofs, often benefit from soft washing. The goal is a clean substrate that will bond properly with protective coatings.
Step 3: Repair and replacement. With the roof now bare, hidden damage is fully visible. Broken tiles are swapped, rusted metal sections are treated or replaced, and any damaged pointing or bedding mortar is removed. All valleys and gutters are cleared of debris.
Step 4: Rebedding and repointing. Ridge caps are re-seated in fresh, flexible bedding compound, then neatly pointed with a polymer-enhanced mortar that resists cracking as the roof naturally expands and contracts. This is one of the most critical stages—ridge failure is a top cause of roof leaks.
Step 5: Protective treatment and sealing. After repairs, the roof receives a primer or sealer coat, followed by an application of high-build protective membrane. For tiled roofs, this might be a coloured, heat-reflective coating that bonds to the tiles and resists weathering. For metal roofs, a specialist membrane forms a watertight, rust-resistant shield.
Step 6: Final quality check and clean-up. Every inch is inspected, gutters are cleared again, and the site is left immaculate. You’re left with a roof that not only looks near-new but is genuinely rejuvenated at a structural level.
A professional roof restoration wraps all these stages into one managed job, typically completed within a week, and backed by a warranty that covers the entire system. If your roof is showing its age but is structurally sound, restoration offers a complete reset without the upheaval of a full replacement.
For more guidance on whether your roof is ready for restoration, visit All Your Roofing Needs and access straightforward, expert advice tailored to Australian homes.